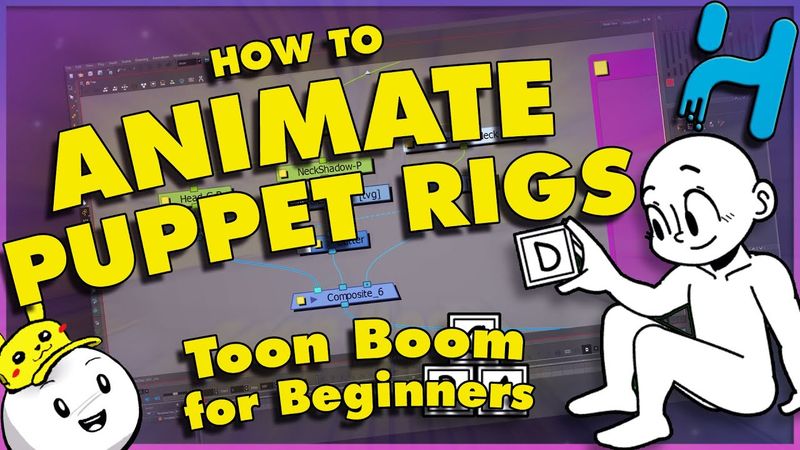
Toon Boom Harmony Rig/Puppet Animation Tutorial (PART 4)
Toon Boom Harmony Rig/Puppet Animation Tutorial (PART 4) Videosu İçin İndirme Bilgileri ve Detaylar
Yükleyen:
Jesse J. JonesYayınlanma Tarihi:
29.08.2024Görüntülenme:
18.4KAçıklama:
Benzer Videolar: Toon Boom Harmony Rig
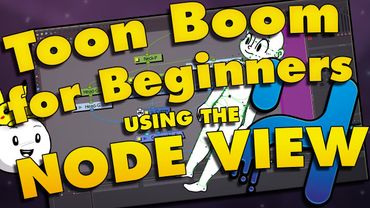
Toon Boom Harmony Rigging Tutorial for Beginners (PART 3)

How to Automatically Edit Music Videos using this AI Plugin... | Premiere Pro Tutorial
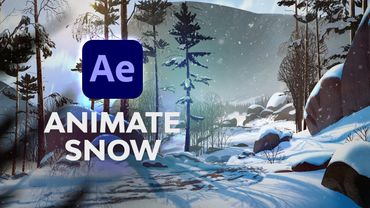
How to Animate Snow in After Effects

Viral Caption Animation Tutorial in Premiere Pro | Instagram Reels 2026
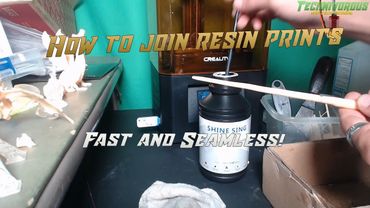
How to join Resins prints with no seam - Printable Props - 3d printed Elder Wand
![ATTKD R34 GTR [4K]](https://videodownloadbot.com/images/video/299/6gzcy7mhjkhpf1hruydeaiwk3l3aq7ef_medium.jpeg)