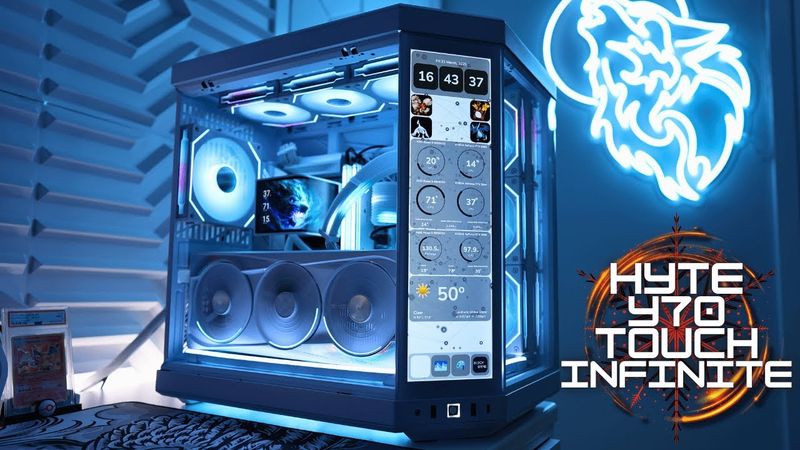
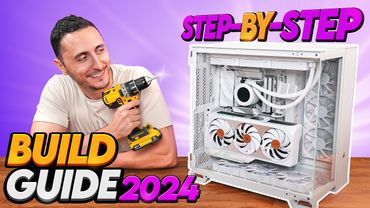
Here’s how to build a gaming PC using the Snow White HYTE Y70 Touch Infinite case, AMD Ryzen 9 9950X3D, and AORUS Master ICE 5090. The build begins at 0:00 with an introduction, then at 0:40 the parts list is reviewed, at 4:13 the motherboard is prepared, at 4:57 the CPU is installed, at 6:18 the RAM is installed, at 7:15 the SSD is prepared, at 9:38 the SSD is installed, at 12:43 the case is prepared, at 16:05 the motherboard is installed, at 17:16 the PC panel cables are prepared, at 20:30 the PC panel connectors are installed, at 23:22 the bottom fan is installed, at 24:24 the bottom reverse blade is installed, at 29:15 the rear standard fan is installed, at 31:37 the top or side fan is installed, at 32:45 the top fan bracket is installed, at 33:14 the top standard blade fan is installed, at 35:43 the AIO Panorama SE is prepared, at 36:25 the AIO side mount options are prepared, at 38:03 the AIO push pull is performed, at 39:54 the AIO pump CPU is installed, at 41:55 the AIO USB & pump header is installed, at 43:17 the PSU is prepared and installed, at 43:56 the SL Infinity hub is installed, at 48:26 the HYTE USB hub is installed, at 48:55 the Nexus NP50 portal is prepared, at 50:11 the HYTE USB hub is installed, at 51:11 the internal USB headers are explained, at 53:23 the USB, PWM, ARGB motherboard is installed, at 55:26 the Noodle LN60 is installed, at 58:37 the PSU cables are explained, at 01:00:27 the PSU CPU motherboard connector is installed, at 01:01:05 the PSU 24‑pin motherboard connector is installed, at 01:02:49 the PSU connects 24‑pin & CPU to PSU, at 01:04:19 the PSU SATA connectors are installed, at 01:05:45 the HYTE vertical GPU riser is installed, at 01:07:28 the L‑Connect wireless controller is installed, at 01:09:57 the GPU is installed, at 01:11:30 the GPU anti‑sag is performed, at 01:12:57 the GPU 12VHPWR connector is installed, at 01:13:22 the GPU wireless strimer is installed, at 01:15:38 the GPU to PSU connection is made, at 01:16:32 the final cable management is completed, at 01:17:13 the AORUS Master fan is installed, at 01:18:41 the case final assembly is completed, at 01:21:07 the power is turned on, at 01:22:30 the HYTE Nexus is activated, at 01:28:59 the Kanali is activated, at 01:29:57 the L‑Connect 3 is activated, at 01:31:19 the conclusion is reached, and at 01:32:57 the B‑roll is shown.