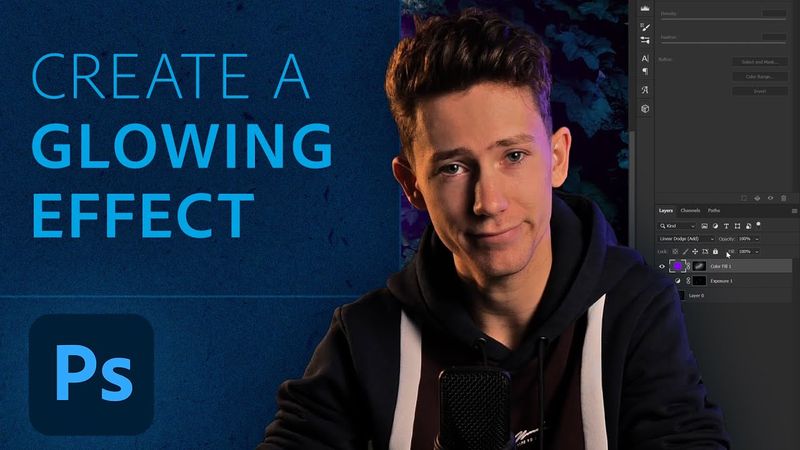
Benny Explains How to Create a Glow Effect | Photoshop in 5 | Adobe Photoshop
Download information and video details for Benny Explains How to Create a Glow Effect | Photoshop in 5 | Adobe Photoshop
Uploader:
Adobe PhotoshopPublished at:
1/6/2023Views:
590.1KDescription:
Welcome back to Photoshop in 5. Follow along as Benny teaches us how to make glows and create glow effects in Photoshop in just under five minutes. Remember to tune in next time for more five-minute Photoshop tips. Follow Benny here: Instagram: YouTube: Subscribe to Adobe Photoshop: Learn More About Adobe Photoshop: Try Adobe Photoshop: About Adobe Photoshop: Adobe Photoshop software is the industry standard in digital imaging and is used worldwide for design, photography, video editing and more. Whether you’re a beginner looking for tutorials on how to use and get the most out of Photoshop, or maybe you’re wanting to find ways to optimize your workflow or draw inspiration from our AI capabilities – make sure to subscribe to stay up-to-date with all the latest news and info on all things Photoshop. Connect with Adobe Photoshop: Facebook: Twitter: Instagram: TikTok: #Adobe #AdobePhotoshop #AdobeYouTube #GlowsinPhotoshop #GlowEffect #Photoshopin5 Benny Explains How to Create a Glow Effect | Photoshop in 5 | Adobe Photoshop
Video Transcription
Ladies and gentlemen, welcome to Photoshop in 5.
My name is Benny, you may know me from my YouTube channel Benny Productions and today in this special video I'll show you how I make glows in Adobe Photoshop.
Of course there are tons of different ways to add glows but today I'll show you mine.
In my first example I'm going to show you the basics and then later I'll show you how you can use it in actual photos.
the photos i use in today's video you can download in the description below and then now let's get into it ladies and gentlemen here we are in photoshop in the middle here i have this nice white dot and that's what we're going to make glowy using my glow technique the very first step is going over to this little icon here and choose solid
color for this one I want to go for a nice dark orange glow so I'm gonna go for this reddish orange tint and hit OK and the most important thing for glows is setting the blend mode here to linear Dodge add we're going to invert the mask by hitting ctrl I and then we're going to grab a brush make it a little bit bigger and make sure the flow is very low maybe like four or five percent should be fine
And then now we can simply paint just very softly, going smaller and smaller onto this little dot.
As you can see, this creates a very, very basic glow.
You can play around with it.
You can do it very intensely or just a little bit.
That's up to you.
Now, this is still a bit basic though.
For that, we can simply duplicate this glow.
Make sure the mask is completely dark again and change this color to maybe a bit more lighter orange, something like that.
this and paint over the very center of this as you can see this creates this very nice bright sort of hazy glow you can even duplicate this again to make it there you go that is very very bright i love that this of course you can do with a bunch of different colors but this is kind of the basic idea
Now that you have an idea of the steps to follow, let's see how we can use this in actual photos.
I'm gonna start with a very simple light bulb.
Say we want to make this very, very nice and shiny and glowy.
Let's go and add another solid color again.
Again, a little bit orange to make it a really warm tint of glow.
blend mode on linear dodge add invert the mask and then we are going to paint again very softly over the bright areas as you can see this pretty much instantly creates a very warm look don't be afraid to overdo it to see what the results are this is obviously a bit too much but you can always erase it personally i'm a very big fan of very nice vivid glows but that's of course preference i'm going to add a few layers like i did on the previous one and then just painting over the center here see this creates this very bright nice
You can do as many layers as you want but I think this is pretty cool.
Before, after.
This exact thing of course goes for a bunch of things like for example this sparkler.
It's all the same steps except you have total control of the color, the warmth, all that sort of stuff.
Images such as these are also, of course, very nice to make glowy.
It's the same steps again now, but this one, of course, is pink.
So I'm going to go for a very nice pink-purple-ish color for this glow.
Set this to Linear Dodge Add again.
Now we do have to be a little bit more precise, since, of course, this is a very complicated shape compared to a simple light bulb.
Just like this, a little bit over the lines.
Make sure your flow is low.
If your flow is not low enough, it's going to look very, very strange and harsh.
Basically, you'll get this effect, which, I mean, that's not very...
That isn't very nice, is it?
You can make it a bit more deep like this or really pink, reddish.
You can make it as intense as you prefer.
You can also do it very subtle.
For example, if you think this is too much, you can simply decrease the fill to make it a bit more subtle.
There you go.
Very small change, yet quite effective.
I use this glow technique for a bunch of things and one of them is eyes.
Say you have this eye and you want to make it very colorful and bright and glowy.
Let's do that.
First, I will make it a little bit brighter using exposure.
So I'm going to, you know, make this a bit brighter like this.
Invert the mask and paint a little bit over the iris.
Just right here.
Not too much.
Keep it subtle like this.
that then if you want we can also use some color balance for a little bit of color maybe green could be fun you can also use hue and saturation or any other color adjustment you want i like to use color balance for whatever reason it all comes down to preference as you can see this makes your eye look a little bit more greenish
And then finally, again, one last time today, a glow.
I'm going to make this one green.
Linear Dodge Add.
And now paint just a little bit over the eyes like so.
Here you go.
Nice and shiny.
Now look at that effect it has.
This is without.
This is with.
And again, maybe you want it to be a little bit more bluish like this.
That is completely fine.
Or maybe, since there's a lot of orange in this photo, we can make the glow a bit orangey like this.
There you go.
That has a very nice effect as well.
So as you can tell, you can really use this glow technique for whatever you want.
And with just a few simple steps, you can get there.
And well, that is how I add my glows in Photoshop.
If you liked this video, make very sure to subscribe to the Photoshop channel.
Big thanks to them for this opportunity.
And then I hope I'll see you in another video.
Similar videos: Benny Explains How to Create a Glow Effect
How to Create Your Own Light Ray Brushes From Scratch in Adobe Photoshop
Viral Caption Animation Tutorial in Premiere Pro | Instagram Reels 2026

How to Make YouTube Videos on Your Phone (Beginners Tutorial)

The Ultimate Pixel Art Tutorial

Beginners Complete Dropshipping Tutorial for 2025 (11+ Hour Guide)