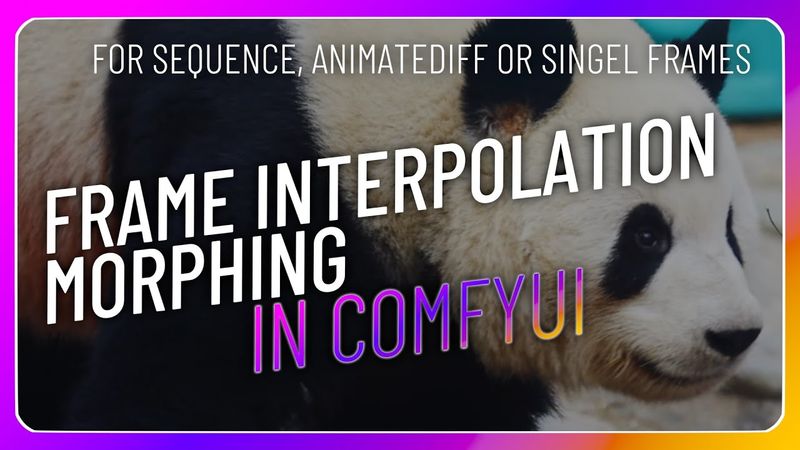
Frame interpolation in ComfyUI for sequences, AnimateDiff, SVD or single frames
Download information and video details for Frame interpolation in ComfyUI for sequences, AnimateDiff, SVD or single frames
Uploader:
NeuronPublished at:
1/17/2024Views:
12.8KDescription:
Video Transcription
So welcome to this next video.
Today I want to show you a way to interpolate between images in ComfyUI.
I will show three different kinds of interpolation.
The first one is interpolation between photos.
generations.
So something like a morphing effect you might know.
The second type would be interpolation for animate diff or SVD, stable video diffusion output.
And the third kind of interpolation will be interpolation between the images of an image sequence you can load from a folder.
So let's start with the first way, with the first kind of interpolation.
Let's load two or three images, between which we will create transition frames.
So for this, we need three image nodes, three image load nodes.
So we have this lovely
Thunderbear.
I plan to interpolate from this frame to another frame and to the first frame again, so we have a seamless loop.
So we need this one, we need another one, we can duplicate this one.
I have a slightly different panda bear movement here as a second frame.
These images are from the GitHub repository of the custom nodes you need for the interpolation.
I will show you soon.
I will link it down in the description so we can use the same images or try it with different images.
So we need a third one and for this we choose the first image again.
Now we will pipe these images into a batch creation node.
We need for the interpolation, the algorithm needs at least two frames, two images.
between it can interpolate and calculate the steps in between.
If we give it three images, it will interpolate between the first and the second and then between the second and the third.
So what is important for this?
We need the images as a batch, as an image batch.
This is, for example, if you use animateDiff, it will output something like a batch.
It's something like an image sequence, a sequence of images.
So for the custom interpolation node, we need to convert those three images to an image batch.
For this, I want to take a node from the impact pack.
I will link the impact pack in the description below.
So where is it?
Impact Pack, Util and then Make Image Badge.
So we have to input the first image here.
After this, there will be a second input created.
You can input the second one.
And after that, the third input will be created and we pipe in the third picture.
So let's have a look.
Reel one, reel zero, reel one, reel zero.
Okay, we have our image batch, our sequence.
We will now pipe this into a film interpolation node.
We can search for it, film.
So it is a node from the ConfUI frame interpolation custom node pack.
There are other interpolation algorithm nodes in it, but the Film node and the Rife node are the only ones I used so far and they are also the most common ones out of this pack.
So we have our interpolation modifier now.
You can ignore all the settings.
The most important one is the multiplier.
This will set the number of frames which will be calculated in between each frame.
So we will put this to 10 to have a really smooth transition.
And then we need to pipe this into an image save or image preview node to see what we got.
So let's try it out.
So we have our frames here.
So we want to see it as an animation.
I will take the VHS node, the video combine node.
This will save a GIF file or MP4 file so that we have a real animation.
Let's pipe the output here and choose MP4 and let's take 12 frames.
So let's calculate again.
There we have our dancing panda.
You see, with this example, with these images, it is working quite well.
If you have two images between which you want to interpolate, which are quite different, this might not work as well as with these images.
So the second kind of interpolation works good for animations like you get from Animative.
So let's take standard 1.5.
Checkpoint.
So we need our prompt, the positive one and the negative one.
As a positive prompt, I want to choose the following.
a video of a woman with wind flowing through hair.
It gave a photorealistic photo.
And as a negative prompt, I don't think we don't need this at the moment.
So let's add an animative sampler.
Let's pipe everything in, positive to positive, negative to negative.
We need an empty latent image for our resolution.
512 to 512 is good for now.
I think we don't change the sliding window options.
And we need the motion module and take the MM stabilized mid PTH.
So then we need to decode the latent to an image.
We need to pipe the VAE to the VAE input.
And then we take the VHS video combine node again to see what's going on.
So this is a standard ConfUI animative workflow.
And now we can simply drop the film interpolation node in between here.
to get what we want.
So let's search for film again and simply pipe it to the video combine.
So I think that's it.
case, I only want to use like three images as a value of three for the multiplier, because for this kind of animation, it can give a strange look if it is too much.
So we again have to adjust the frame rate and
Sync, we can try this.
Again, for every frame, which will be created here, our film interpolation node will create the frames in between.
So we get a more smooth transition.
You can see it here.
So it's more like a morphing and you can try it without to see the difference.
So it's much faster and not as smooth.
We can try with more frames in between the sequence frames.
We can see here, it's really like, you see the mainframes and then the animation between the frames.
If you want such a result, this is great, but I would say the multiplayer is too high in this case.
You can also use this for stable video diffusion or every workflow which gives you this batch format, so a sequence of images.
The last kind of interpolation is the interpolation from a sequence, which we will load from a folder.
So for this, we need a special node again.
Find the node in the ACN package.
It's sorted under deprecated.
And it is marked as deprecated, but I think I have read on the GitHub that they will hold this node in their repository.
I think it is a great one.
I haven't found any other custom node which loads a sequence of images from a folder into a batch format.
Other custom nodes only load the images one by one and not the whole folder into a batch file, a batch format.
We have to put in our directory here.
I will use the frames from the last tutorial, our fly through the galaxy.
So for this, we can directly pipe it into the film node.
I will use three as a multiplier.
And then I will copy and paste the video combine as our preview.
Um, yeah, that's it.
Let's try it out.
Here is our result.
You see, you really see how it is interpolated.
So I would say the multiplayer with two would be enough.
Yeah.
And I think that's it, what I want to show today.
So like and subscribe.
And I hope I will see you in the next video again.
In the next video, I want to show you how you upscale and crop stable video diffusion videos to 4k or full HD video resolution so that you can upload it to YouTube or use it further in your video editor.
So yeah.
That's it.
Similar videos: Frame interpolation in ComfyUI for sequences
Toon shader, Textures and Outline materials - blender 2.9 - #07

News in Minecraft 26.1 Snapshot 2 - 100% Cuteness - and Craftable Nametags!

This Editing Mistake Is Killing Your Growth

3D Pop Out Effect for Instagram in Photoshop
News in Minecraft 1.21.11 Pre-Release 5!