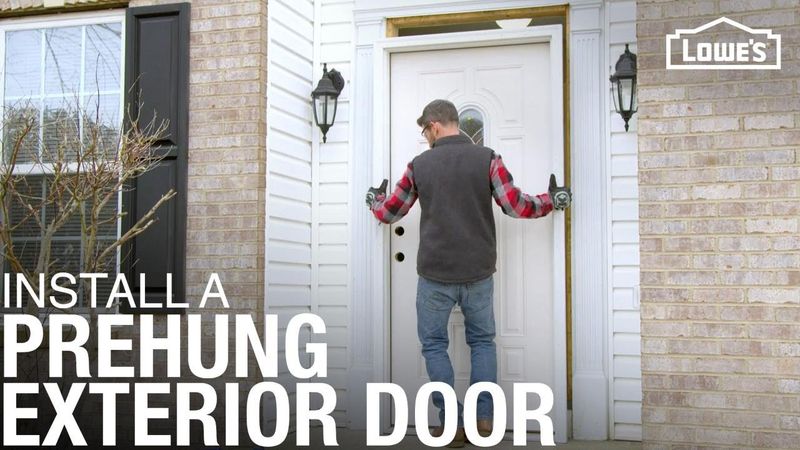
How To Install A Prehung Exterior Door
Download information and video details for How To Install A Prehung Exterior Door
Uploader:
Lowe's Home ImprovementPublished at:
2/8/2018Views:
2.7MDescription:
Video Transcription
Hey guys, I'm Tony.
This is a great looking house, but this front door has seen better days.
Today I'm going to show you how to install a new pre-hung door that's not only going to make this house look better, it can also help save on the energy bills.
So pre-hung means that the door and the frame all come as one unit.
Now when you're doing this project, you're going to have a big hole in the side of your house, so you want to make sure you get this all done in one day.
If you're not comfortable with doing that, you might want to hire a professional.
So now if you're up for the task, it's time to take some measurements.
Now you might have to take off the interior trim of this door to get these measurements and measure the height and width of the door frame.
Also measure the jam depth.
Measure the height and width of the existing door also.
So now we've picked up our new door, it's time to start taking out our old door.
We're dealing with an old storm door, so we're gonna start by removing that.
Then we took off the door ball.
They're low voltage circuits, so you can easily do this yourself.
Next, score along the exterior trim with the utility knife and pry it off.
The new pre-hung door will have new trim, so there's no need to save the old trim.
From the inside, remove the hinge pins with a screwdriver and hammer, then pull out the door slab.
Some doors might be heavy and require two people to carry.
Next, unscrew the latch plates.
Then use a reciprocating saw to cut the screws around the existing frame.
Take it slow and let the saw do the work.
Now, from the inside, carefully push the top of the jam out and remove the old frame.
Now we're ready to install our new door.
Remember to always follow the instructions that came with the door you purchased.
We're gonna check that our subfloor is level.
We're also gonna check that our sides are plumb.
We're also gonna take a square, make sure that all four corners
of our rough opening, our lining up.
If they don't, now's the time you can add extra wood or shims to get it where you want it to be.
Next, we're gonna install a sill pan.
The sill pan we'll be using is coming in three pieces.
First, we're gonna dry fit our sill pan pieces by putting our corner pieces in first and installing the middle section over the top of them.
Once we have them dry fitted, we're then gonna take and apply PVC cement
to the two corner pieces and then to the underside of the middle section, pressing it firmly in place and allowing it to set up.
After it's set up, we're going to remove the sill pan, then apply three beads of caulking to the sill and take the sill pan and press it into place, holding it down firmly.
Then seal along the back of the sill pan and along the seams and corners.
On the new door, remove the transport plug from the lock set hole and drill a hole for the doorbell wires.
Next, we applied a bead of sealant to the back of the brick mold so it can set the bottom of the door on the sill and tilt to the top into place.
Don't forget to feed the doorbell wires through the hole.
Shims are important to keeping the pre-hung door square in the door frame.
We're going to shim above the three hinges at the top, middle, and bottom of the latch side, and behind the strike plate.
Here's how to install the shims.
Drill pilot holes with a countersink bit next to the hinges and the strike plate.
Next, drive the screws in partway in the middle holes just to temporarily hold the door in place to make adjustments.
Check the hinge side with the level on the inside of the frame and on the outside.
If it looks good, drive the screws in partway at the top and bottom.
From the inside, check that the door is centered and still plumb.
Then drill pilot holes and drive screws partway through the hinges.
Go ahead and place shims above each screw location on the hinge side.
From the outside, go ahead and finish driving in the screws.
Now we're gonna check our distance with our weatherstripping and make sure it's the same at the bottom, middle, and top.
If not, we're going to move our frame and drive screws partway in at the top and bottom.
Back on the inside, shim above the screws,
and once again check for plumb, then drive in the screws.
Next, close the door and shim above the strike plate location and drive in the last screw.
Now shim behind the strike plate location and install the strike plate.
Now we're going to check that the door is snug against the adjustable cap.
To do this, we're going to go ahead and take a piece of paper.
You want to make sure that the piece of paper comes out with a little bit of resistance but without tearing.
If it comes out too loosely or tears, you can adjust the cap screws to lower or raise it.
Seal the corners along the edges, then install the self-stick corner pads.
At this point, we can install the lock set and the deadbolt and make sure they're working properly.
Cut the shims with a utility knife or an oscillating saw.
Press blanket insulation around the frame to keep that cold air out in the wintertime, then install the interior trim.
You might need to install molding behind the sill.
Next, seal the interior and exterior joints.
Now with our door installed, we're gonna go ahead and paint it.
Now you might get a door that comes already pre-finished from the store, but in our case, ours only has a coat of primer on it, so we're gonna have to go ahead and paint it.
You can also paint the trim.
And now you have a brand new front door.
And if you want more great ideas and how-tos, go to Lowes.com slash how-to.
Similar videos: How To Install A Prehung Exterior Door

DOORS FLOOR 2: THE MINES - FERA ANIMATIONS (ANIMATED MUSIC VIDEO)
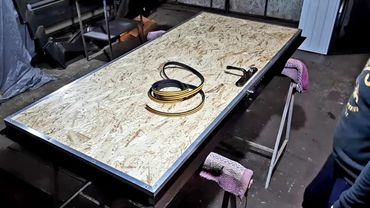
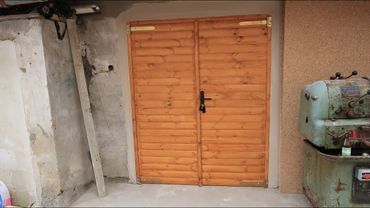
Как сварить утепленную железную дверь!
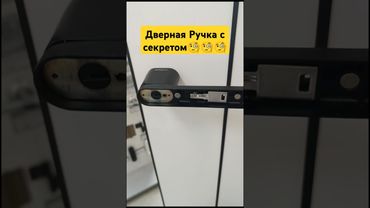
Дверная ручка Morelli. door handle #doors #ремонтдверей #магнитогорск #ремонт

𝐓𝐡𝐞 𝐃𝐨𝐨𝐫𝐬 – 𝐓𝐡𝐞 𝐃𝐨𝐨𝐫𝐬 – 𝐅𝐮𝐥𝐥 𝐀𝐥𝐛𝐮𝐦 debut album 1967
we NEED these doorknobs 🙏